Sunday, April 17, 2016

New Google Earth Experiment: Tourbuilder

New Google Earth Experiment:  Tourbuilder

This week’s tidbit is another simple share. Check out the new tourbuilder by Google by clicking on the link above. There is a sample tour located here. Notice in the sample that each pushpin location includes a picture and information about that stop on the journey.

I see tons of ways that this could be used in education. Students could explore significant battles in history and share pictures with information about the battle locations. Students could share places they visited over the summer with stories relating to those visits. Students could explore their state by studying different locations and sharing the importance of those locations as they relate to the state’s history.

Check out the gallery of tours already created. What ideas come to mind as you see the Google tourbuilder technology tool?

Sunday, April 10, 2016

April Tip #2: Google Sheet AddOn: Save as Doc

Google Sheet AddOn: Save as Doc

This week’s tidbit is another AddOn for Google Sheets. We recently did a survey using Google forms. As we were looking over the survey results in the Google sheet it was hard to read all of the input scrolling through the sheet. The perfect answer to read through the results was the AddOn for Google sheets called Save as Doc. To add this AddOn

  • Open your Sheet of Form Results (This would also work on a regular Google sheet not connected to a form as well)
  • Click on AddOns - Get Addons
  • Search for Save as Doc and add it to your Google sheet.
  • Click on AddOns - Save as Doc - Start
  • An information box appears on the right hand side of your screen
    • In the top box, type in the name you want for your created Google document
    • Click the box to include your headings
    • Leave the default selection stating that the first row of the sheet contains your headings or select the alternate choice of first row of selection contains your headings
    • Next, pick your heading style (Note: All headings appear in the Google doc using this heading style with individual answers under the heading)
    • Check the box to add a page break after each row (This puts each line of information in the Google sheet on its own page
    • Then click the box that says Select All Data
    • Once you click that box, text should appear below that says “All data has been selected!”
    • Click Save as Doc
    • The Google doc will generate
    • Click at the bottom to Open your Document

Here is a sample Google sheet as well as the sample result from the Save as Doc AddOn. This worked on survey results, but it’s also a great way to print out student answers to a Google form as well.

Sunday, April 3, 2016

First April Tip: Mapping Data Points

Maps

Maps are so cool. They are visual representations of where things are located. A cool new add on for Google Sheets allows you to create maps of spreadsheet data. First, you need this document. When you click on the document, it will force you to make a copy. Now that you have a copy, start adding some sample information. To start, I would just add 2 lines of information. You can re-build your map multiple times, so it’s ok if you don’t have all of the information there yet. You can change the headings and/or the information listed. I’ve just included those as samples.


Now, add the mapping add-on. Click on ADD-ONS, Get ADD-ONS. Search for Mapping Sheets and click to add it. Once it’s added, go back to your sheet and click on ADD-ONS, Mapping Sheets, Start Mapping. The menu will appear on the right hand side of the screen. I leave the Title and Filter as the Name of the School. Change the location to be the location from the drop down menu to the right. Click BUILD at the bottom. Click VIEW to see your map. Add the link to a web page to show your mapped data. If you go back and add more information, you will have to click the build button again. Your link will NOT change though, but update with the new built information.

We used this add-on to map the data for the location of our schools with an administrator name and phone number.  We then added a link to our web page. Here’s what our link looks like. What do you think? Share your ideas for how this tool could be useful in the comments section.

Saturday, March 5, 2016

March Tech Tip #1

Simple Google Sheets (Excel) Formula Functions


I love spreadsheets.  In fact, I'm a spreadsheet geek. For the start of this month's tech tips, I thought I would share a simple spreadsheet formula that I used this week. I used it to determine if teachers had completed a form that they were supposed to complete. I have used it in the past to tally the number of responses given or to count items listed in an inventory.

The formula function is called COUNTIF. This works in Excel and in Google Sheets. The concept behind countif is that it will COUNT the number of items in a range of cells, IF it contains the given search criteria. For example,

=COUNTIF(B1:B100,"Michaels")


You don't have to type the criterion in, it can also be a cell reference, such as

=COUNTIF(B1:B100,A1)

or it can be a mathematical expression as shown in the sample to the right. There are a variety of reasons to use the COUNTIF formula. You may want to know
  • how many times particular criteria shows up in the range of cells 
  • if criteria exists within the range of cells
I have included a link with some sample data to give you an idea of how this might work. Keep in mind the sample data combines a couple of ideas which might not always be seen together. I combined them in order to show you the data with one link. 

Please comment or e-mail me if you have questions or want to share ways you use the COUNTIF formula. Remember, it's not what you know, but what you SHARE!


Monday, February 29, 2016

February Tip: Password Protecting Google Forms

Password Protecting a Google form

Screen Shot 2016-02-29 at 7.24.46 PM.png

Sometimes, you might want to control when students can start answering questions on a google form. To accomplish this, add a password.

  • Open Google drive
  • Click on NEW
  • Click on Google Form
  • Name the form
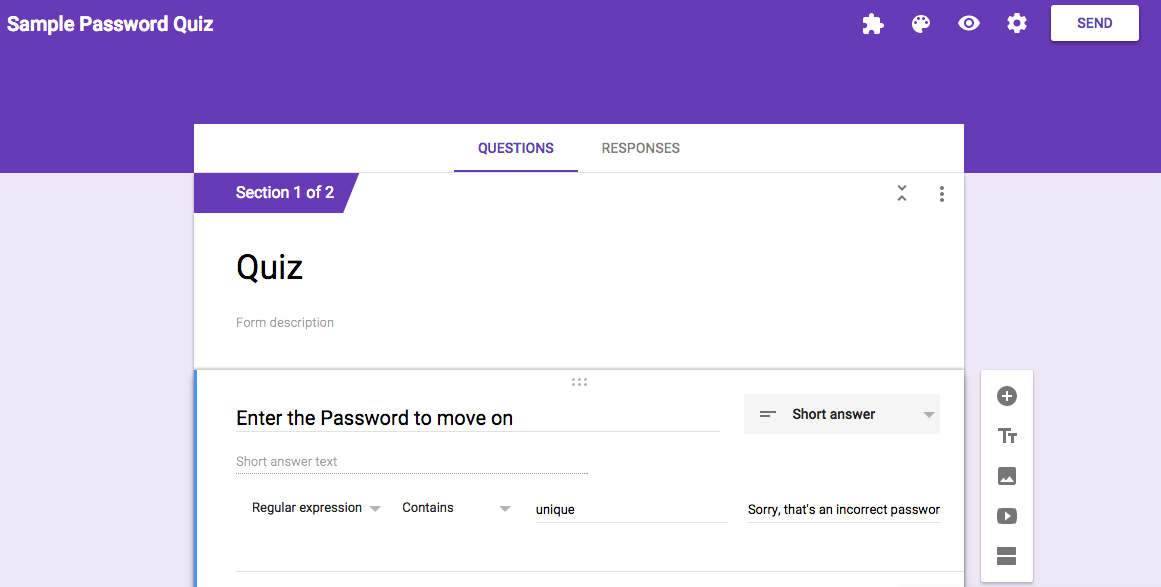
  • Create your first question which will be your password question
    • Make the question a short answer question and then use data validation to control the text entered that
      will allow the student to move on to the actual quiz.
    • You can select what data you use for validation,
    • Make sure you mark the question required.
  • To prevent any other questions showing up until a correct password is entered, add a section break or a page break to your quiz.
  • Enter your remaining questions.
To test out using my sample, click on this link and you will see what happens when you enter the correct password (unique) and incorrect password.

Sunday, January 3, 2016

Keeping People Updated in the New Year


Teachers are often required to have a web page. Many will readily tell you that they are not web page designers, they are teachers. Therefore, I have found a simple way for teachers to create and update web pages.

To accomplish this, a teacher simply follows these steps
  • Open Google drive
  • Click on NEW
  • Click on Google Doc
  • Name the document
  • Type information on the page
  • Click on File
  • Click on Publish to the Web
  • Click on Publish
  • Click OK (you are sure you want to publish)
  • Screen Shot 2016-01-03 at 5.29.33 PM.png
    A screen appears with the link to send to your district’s webmaster
    • Click on the envelope icon (Gmail) and your e-mail will open where you can type in your webmaster’s e-mail address and the link will already be in the body of the e-mail for your district webmaster to create a link off of the district web page to your web page.
    • Once this link is connected, you don’t have to work with the webmaster again. Your page becomes live at that moment. All new changes will automatically appear on the published page.
  • You now have an easy way to keep parents current on all events
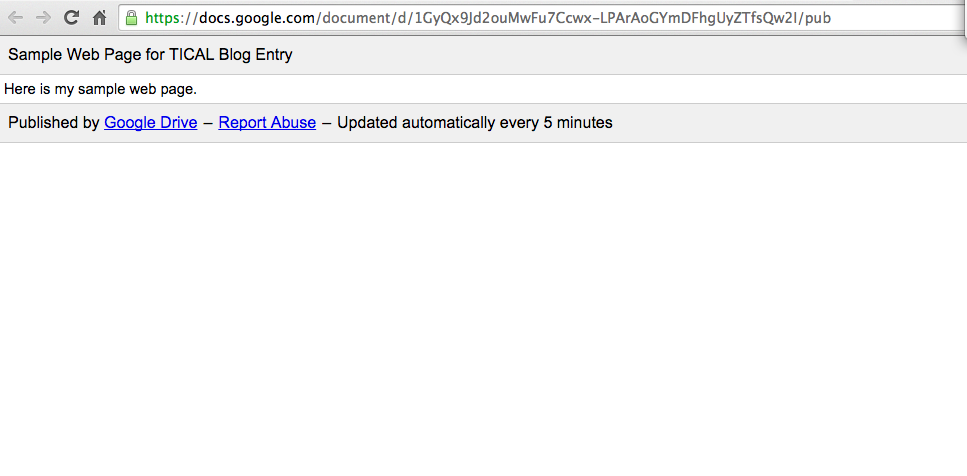
  • Here is a link to a sample, very simple published doc as a web page

Now, a couple of notes
  • It’s really plain. However, I believe most people just want to know current information and aren’t as concerned about the looks.
  • It does take 5 minutes sometimes to update, so be patient if you type into a document and it hasn’t appeared on your published document yet.

The first time I presented this to teachers, they were blown away that it was really that easy. Most importantly, since presenting this over 2 years ago to a group of teachers, they are still doing weekly updates on their web pages.  
Screen Shot 2016-01-03 at 5.42.42 PM.png
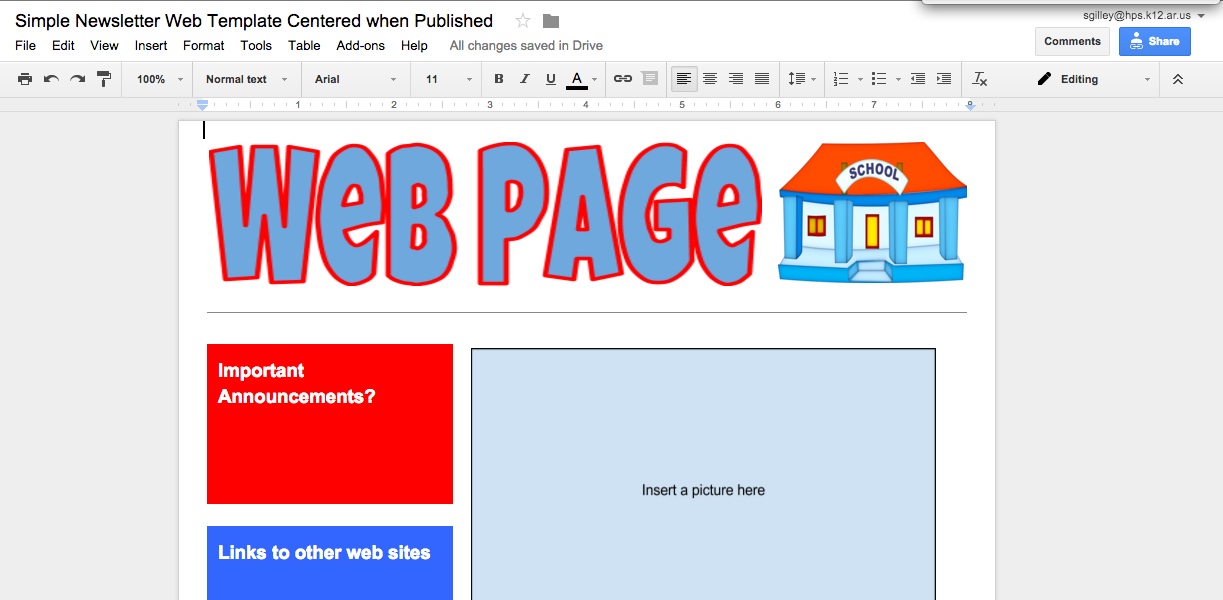
Many people just can’t accept the plain simplicity of the regular document, so I offer this alternative which is simply a formatted, centered table within a Google doc. The instructions to publish are the same as above, but you start with making a copy of this document.

Let me know how this works for you and I'd love to share the pages you create using this method.

Monday, December 7, 2015

December Tidbit #2: Forcing the Make a Copy Option in Google Docs.

Many times you want to share a document with others where they can view what you have done. Often, you not only want them to view it, but you want them to use that as a starting point for them to then tweak the document and make it their own. This is easily done by
  • clicking on share
  • typing in their e-mail address
  • and selecting the view option
  • click done and an e-mail will go to them allowing them to view your document

In order for them to then, in turn, work on it, they must open the document, then click on file, make a copy and name the document for their use.


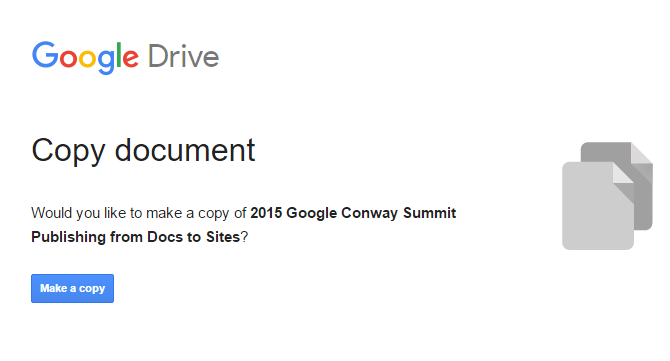
Sometimes, though, it’s nice for the link that you send them to automatically ask them to Make a Copy of the google document. You follow the same steps as above:
  • Click on share
  • Type in their e-mail address, select view
  • BUT, then uncheck the e-mail option so it doesn’t e-mail them that you have shared a document
  • Copy the highlighted URL that appears.
  • Open your e-mail account.
  • Create a new e-mail to the person you want to send the document so that they can make a copy.
  • Paste the URL that you copied from above:


  • Erase everything after the last slash AND make the following change:


  • Click to send the e-mail.
  • Now when the recipient clicks on the link, it will ask them if they want to Make a Copy of the document and the document will automatically appear in their Google drive.